I baked a cake, and it deserves a blog post

B6RtrmlCMAEXuha
This photo was appropriated from The Brown Elephant’s twitter feed. You should follow them. And shop there. @HbBrownElephant

First, there’s an elephant in the room (and I don’t mean that photo)… It’s been a minute since I posted on this blog. You might think that a January 1 post is meant as a comeback, or that I’m making a resolution to bake and blog more in 2015.

Nope.

I’m not into making promises I can’t keep. But, I DID recently pay to have this domain renewed, and in light of that, plus a day off and a magnificent Pinterest fail, I thought I’d come off of my crafty sabbatical for a day and share my space cake with you.

It might be the only post of 2015. Maybe. But it’s worth it.

One day last spring, I saw a solar system cake on Pinterest and a theme for the annual NYE party was born.

A few weeks ago, I attempted to find said recipe, to no avail. But then I found this Jupiter cake, which seemed like a way better idea. On top of that, I collected all the necessary goods to make cake pop moons to orbit around Jupiter.

Yesterday at about 4:30pm I realized that all the ingredients were in metric and the battery on my kitchen scale was dead. Rather than do lots and lots of math while sipping leftover Eggnog, I ditched the Jupiter bit, made a big round cake covered in yellow frosting, and stuck cake pop planets into it with a jimmy asteroid belt.

This is what remained of the space cake when I woke up the next morning. No one ate the Earth. Because my party guests are respectful. The green blob is Africa, duh.
This is what remained of the space cake when I woke up the next morning. No one ate the Earth, because my party guests are respectful. The green blob is Africa, duh.

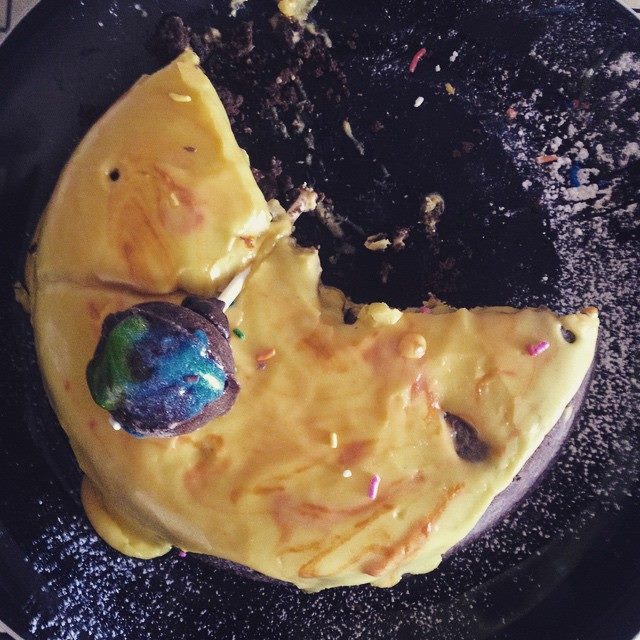
All things considered, I call it a space cake win. And not at all worthy of this list. Should you want to make your own attempt, here are the deets:

Fudgy Cake Pops (Modified from the cake pop pan package directions):

Ingredients:

  • 3/4 C. semi-sweet chocolate chips (I used half a block of semi-sweet baking chocolate instead)
  • 1/2 C. butter
  • 3/4 C. sugar
  • 2 TB Cocoa
  • 2 large eggs
  • 3/4 C. flour
  • 1/4 tsp. salt
  • lollipop sticks
  • 24 oz. chocolate bark coating (I used more baking chocolate)

Directions (to make my whole space cake extravaganza, double the recipe):

  1. Preheat oven to 325-deg F. Grease and flour both sides of your cake pop pan. And don’t listen to any of that garbage on the Internet saying that you need a cake pop maker. That’s a glorified waffle iron – a uni-tasker that takes up way too much precious cupboard space. Don’t do it. Just get the pan.
  2. In a medium saucepan, melt chocolate and butter, stirring until smooth. Transfer to a medium bowl.
  3. Add sugar and cocoa, stir until blended. Add eggs one at a time, stirring as you go.
  4. Add flour and salt, stir until blended.
  5. Fill each well of the bottom side of the cake pop pan with a heaping tablespoon of batter. Place the top side of the pan and lock into place. Bake 15-20 minutes.
  6. Cool the pan on a wire rack 2-3 minutes, and then transfer the pops to the rack. Meanwhile, pour the remaining batter into a round 8″ greased and floured pan. Bake approximately 50 minutes, until a cake tester comes out clean.
  7. Melt the remaining chocolate in a pan. Dip the top of the lollipop sticks into the chocolate and push halfway into each pop. The chocolate is like glue to keep the sticks in the pops.
  8. Frost, dip, or decorate as desired. I included Pluto, because, debates about its planetary relevance aside, why not have more cake pops?

Lemon Frosting (adapted from Betty Crocker’s cookbook):

Ingredients and Directions:

  • Blend together 2 C. of confectioner’s sugar with 1/4 C. room temperature butter
  • Stir in approximately 2-3 TB heavy cream and 1 tsp. lemon extract
  • Add a few drops of yellow or orange food coloring (because this is going to be the sun)

So the rest is pretty intuitive. Frost the cake when it’s cool, add your sprinkle asteroid belt, and decorate your planets, sticking the pops into the sun. The dusted black plate adds a star-studded stratosphere to the whole thing.

#winning, and Happy New Year.
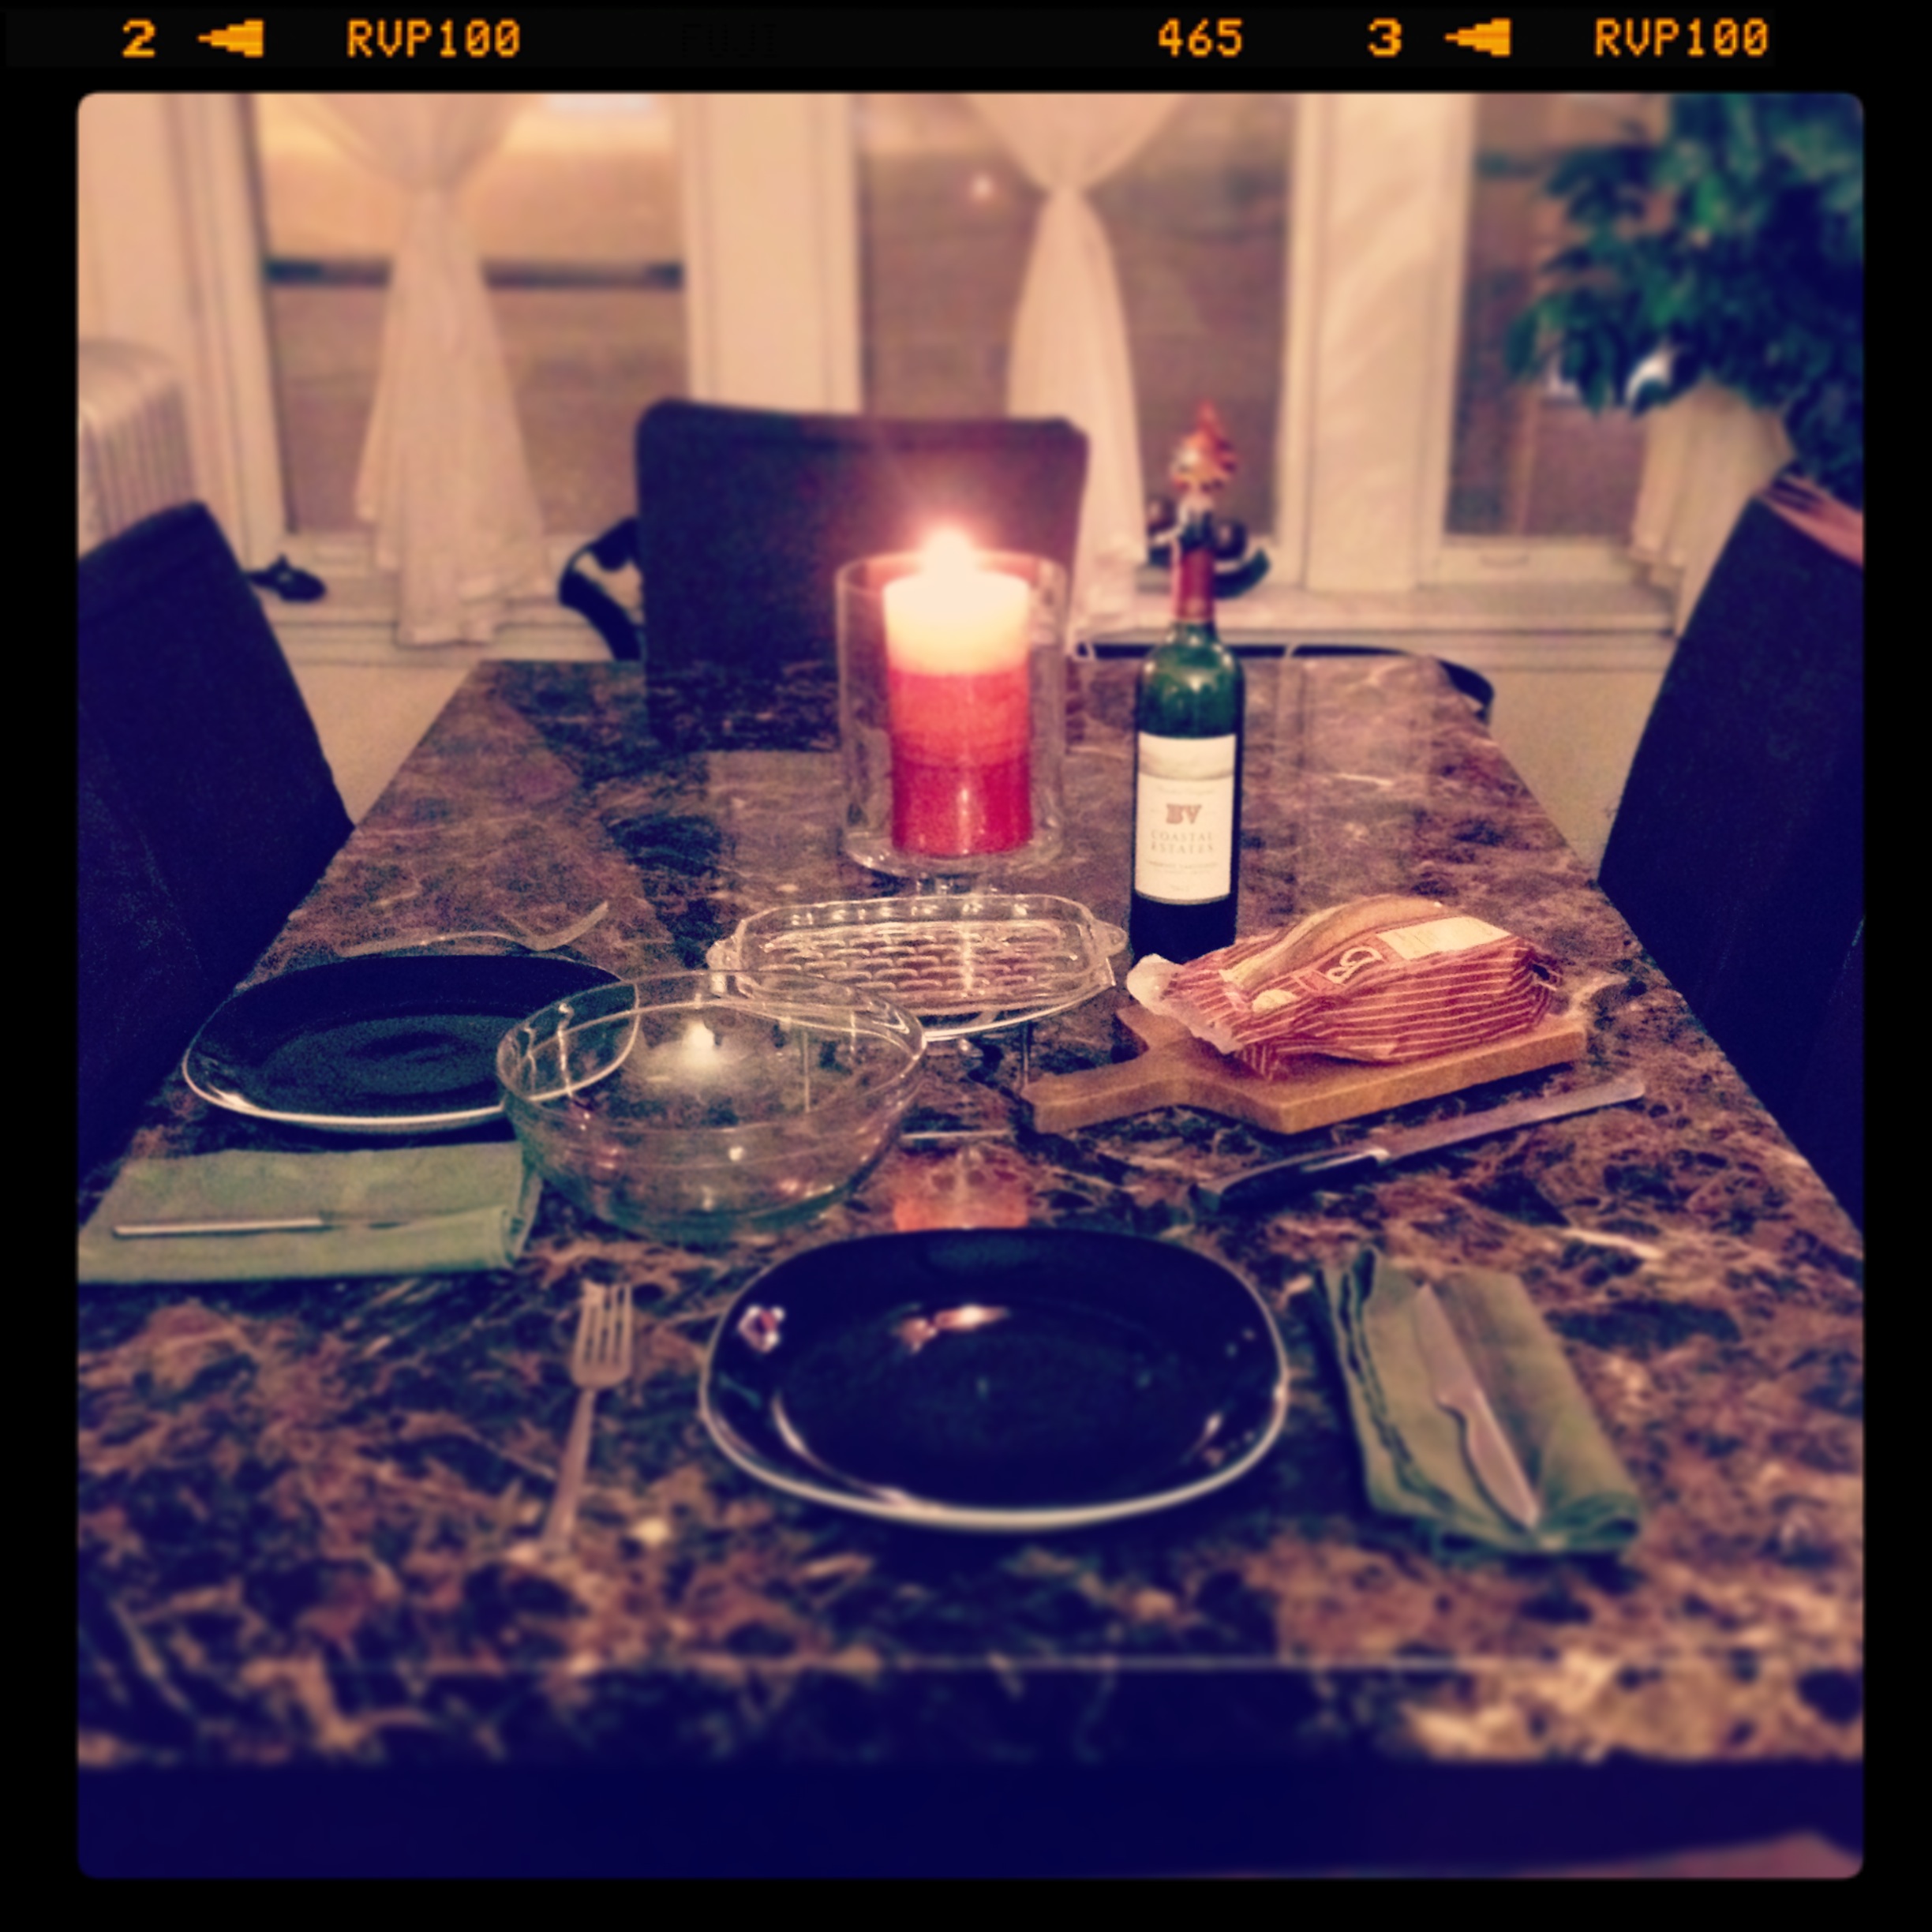
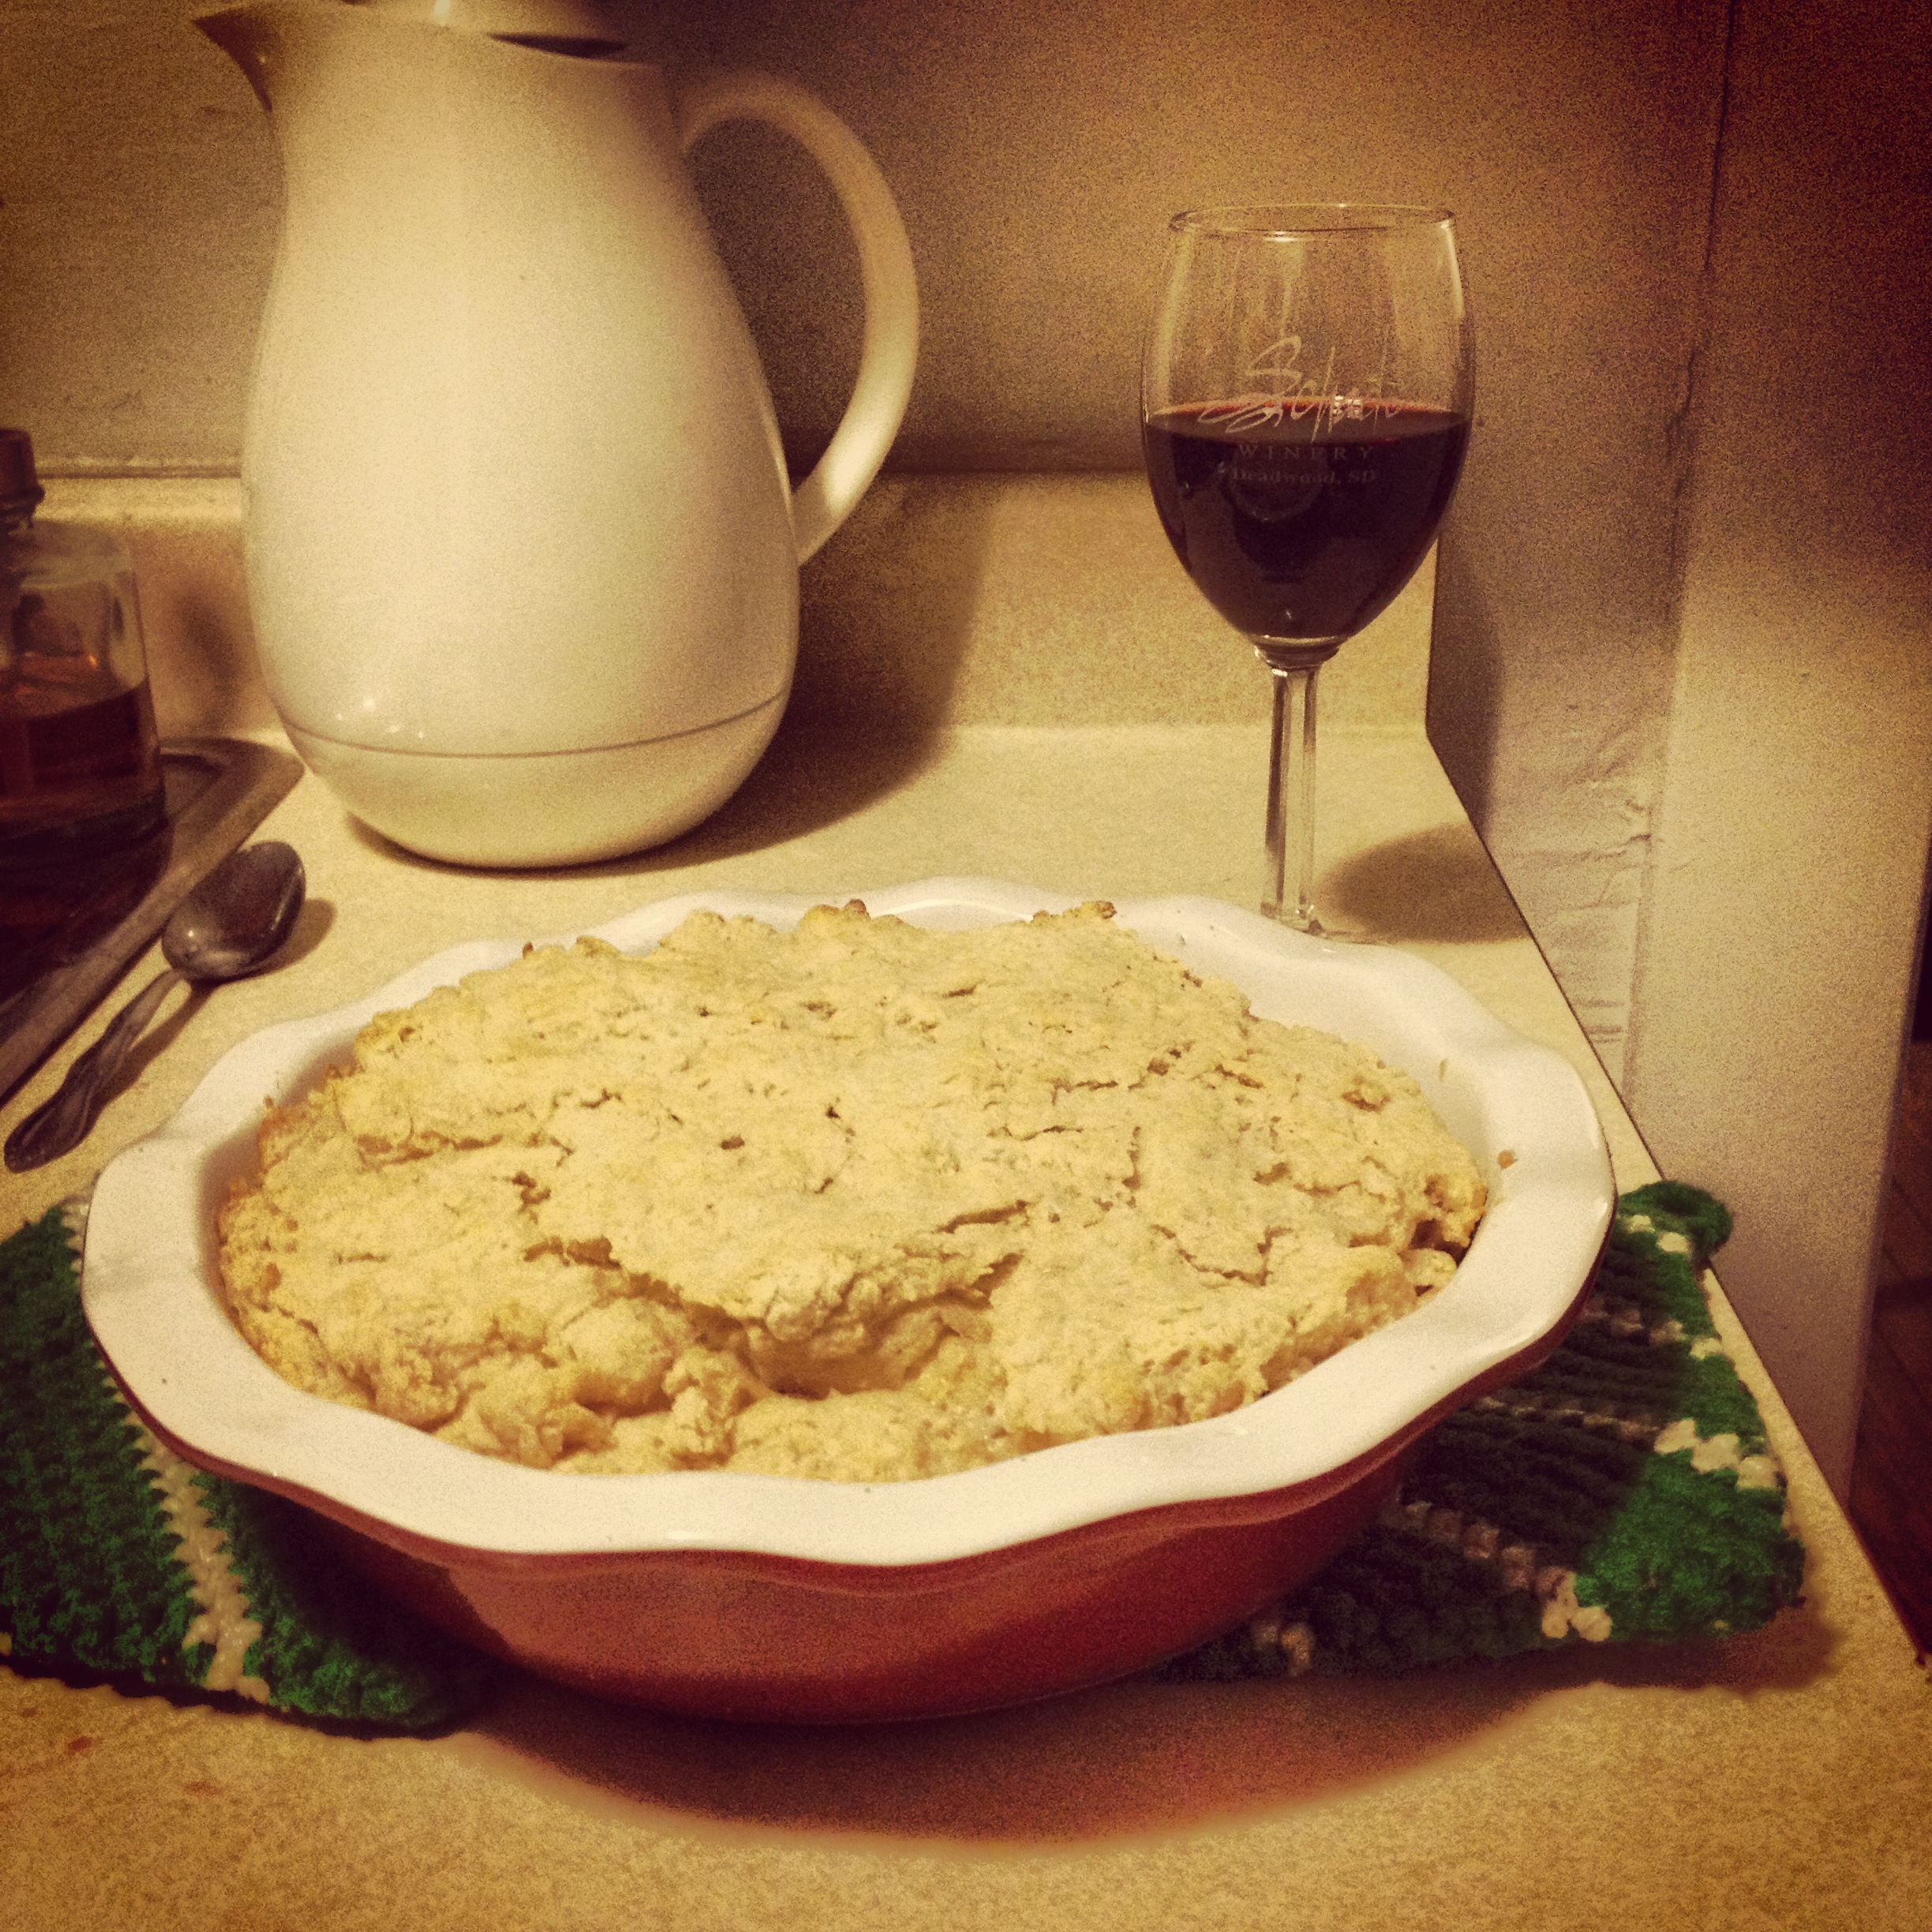
 

Valentine’s Day Surf and Turf on the Cheap

Many a Valentines Schmalentines have been spent drinking alone in a bubble bath. I’m not a fan of Hallmark holidays in general, and especially ones that also, typically, break most people’s New Years resolutions.

But I have to say, this Valentine’s Day rocked. We opted to stay in and cook, and did a damn fine job of it, too. I pulled some pork chops out of the freezer, and we found a really good bargain on seafood at the grocery store this week. Add some crusty bread and roasted asparagus, and voila! Delish. And inexpensive.

This feast of pork, lobster tails and opilio crab is likely to cost at least $25 an entree at a restaurant, plus wine, plus valet, plus tip, plus stupid traffic (and the traffic WAS extremely stupid that day). We figured we came in at about two for the price of one, BOGO, if you will, and didn’t have to put shoes on. Win win.

Prepping the dinner table
Crab + bread = winning

Boiled Crab Legs

(courtesy of Betty Crocker, and in case you missed this recipe the first time…)

In a big, covered soup pot, boil water seasoned with Old Bay, lemon wedges, parsley, and celery.

When water is boiling, drop crab in until submerged and cover.

If not able to fully submerge, turn the crab occasionally to ensure equal cooking time.

For live crab, cook until pink, about 20 minutes. The legs from the grocery store take about half that time.

Remove from pot, cool until able to handle, and serve with melted butter doused with lemon juice.

Prepping for Strawberry Shortcake (but this is the topic of another post...)
Prepping for Strawberry Shortcake (but this is the topic of another post…)

Check out those legs!

It’s not often that workaholics get a weeknight off for a dinner party, but when we do, we take full advantage. The polar vortex doesn’t hurt the urge for R & R either.

Philip shows off his legs

Friend Philip had a hankering for crab legs, and the GF and I were the lucky beneficiaries of his craving. Here’s the thing: crab legs look really impressive, and they are surprisingly simple to make as long as you have a big pot.

Salted water, boiling, add crab, 3-5 min, voila!

Philip added some fancy stuff to the water, and you can get creative with things like herbs, lemon, Old Bay, etc., but the base recipe is all the same. For king crab (go big or go home), you may need to finagle, tuck, and adjust your legs to make sure all parts are cooked, or, get a bigger pot.

For sides, Philip went with twice baked potatoes (yum), almond crusted asparagus (YUM), and we *may* have shared a bottle of wine on a school night. It’s fine, right?

Yeah, I bet you wish you were Philip’s friend too.

Mussels are Delicious! and Easy!

photo 1 (1)

Why mussels? Because we felt like having a fancy dinner and they were $5 per pound cheaper than shrimp. I’ve had mussels, like, twice, and enjoyed them, but preparing them was a pretty frightening thought.

Good thing it’s Halloween.

When you bring mussels home from the store (and I fully admit that these were not sourced anywhere even remotely close to the Midwest), they’re given to you in a bag of ice and it’s important to leave the bag open. No ice and a twistie tie = no bueno. Another admission: this recipe was picked up at the deli counter at Jewel and I had very little to do with the preparation of the mussels. I was on sides, where were also delicious and easy. So here’s the whole meal:

photo 3

The Perfect Mussel Meal

Ingredients:

  • 2 lb mussels
  • 2 TB olive oil
  • 2 TB butter
  • Dash salt
  • 2 tsp crushed red pepper
  • 2 TB fresh minced garlic
  • 1/4 C. cheap white wine
  • 1/4 C. each finely chopped basil and parsley

Directions:

  1. Add olive oil, butter, salt, red pepper, and garlic to a large sauté pan or wok and bring to a simmer
  2. Add mussels, herbs, and wine. Cover and bring to a boil (5 min)
  3. Make sure all the mussels have opened, and pour them with the sauce into a large bowl to serve

photo 2 (1)The Sides!

I chose small potatoes, brussel sprouts, fennel and pearl onions for roasting as a side with the mussels. Par boil the potatoes for about 10 minutes, the sprouts for about six, until they are all just beginning to get soft. Drain and pat dry, then spread the potatoes, fennel bulb and pearl onions on a baking sheet in a single layer. Drizzle olive oil and salt over everything and roast for about 10 minutes in a 350-deg oven. After 10 minutes, add the brussel sprouts to the baking sheet (pre-drizzled and salted), and roast  everything for another 10 minutes.

Serve all of this with a crock of melted butter and lemon wedges (or, just add a splash of lemon juice to the butter), a hunk of crusty bread, an empty bowl for the shells, a glass of wine, and extra napkins. I realize that chilled white wine probably would have been better than red, but the bottle was already open. For fun, we also grilled some small chicken thighs for the meal.

Who would have thought such an extravagant meal was so easy to make?

…and so beautifully delicious.

photo 4
The aftermath

Canapolooza 2013

My friend Ann can can.

She might be able to can can too, but trust me, Ann can definitely can.

When I picked up my 40 pounds of tomatoes from Midnight Sun last Sunday for her Labor Day canning party (thinking, “wow, this is a s*#$ ton of tomatoes“), Ann said, “I think we may have different expectations about canning day.”

When two crafty ladies get together with cocktails and 100 pounds of tomatoes, it’s kind of amazing. Aside from the 19 jars of marinara sauce now sit in my pantry ready for the pizza I might make next February, here are some photographic highlights of the day:

Salsa!
Salsa! and, Ann’s extremely enormous pot.
Tomatoes without their skins, waiting to be squished for sauce
Ann makes a brontosaurus out of tomato paste

Tomatillo Overload!

tumblr_mrsalwwBTk1qmywbko1_500The canning begins…

Just as I’m preparing to go back to school for another semester we are reaching a critical point in the season in which Lauren buys a ridiculous amount of produce in an effort to overstock her pantry with Ball jars full of food for the winter.

It’s about to get crazy in that little kitchen in the city.

On a whim, I bought six quarts of tomatillos at the Andersonville Farmers Market from my friends at Midnight Sun and decided it would be a good idea to have enough salsa verde around to withstand the apocalypse…. this is how I did it:

Tomatillo Salsa

(recipe courtesy of the Ball Complete Book of Home Preserving)

Ingredients:

  • 5-1/2 cups chopped, cored, husked tomatillos
  • 1 cup chopped onion
  • 1 cup chopped seeded green peppers (your choice of heat… I used a bunch of banana peppers and one jalapeno with a few of the seeds for the whole batch, because I’m not a “burn your face off salsa” kind of  girl.
  • 1/2 cup white vinegar
  • 4 tsp lime juice
  • 4 cloves garlic, finely chopped
  • 2 TB finely chopped cilantro
  • 2 tsp ground cumin
  • 1/2 tsp salt
  • 1/2 tsp hot pepper flakes

tumblr_mrsg0rifqb1qmywbko1_500Prepare your canner, jars and lids.*

In a large stainless steel saucepan, combine all ingredients and bring to a boil over medium-high heat, stirring constantly.  Reduce heat to medium-low and boil gently, stirring frequently, for 10 minutes. Transfer to a blender or food processor and puree until semi-smooth.

Ladle or pour hot salsa into hot jars, leaving 1/2″ headspace in the jars. Gently remove air bubbles by poking into the jar with a knife and adding salsa as needed. Wipe rim, center seal on jar, and screw band down until fingertip-tight.

Place jars in canner, ensuring they are completely covered with water.  Bring to a boil and process for 15 minutes.  Remove canner lid, wait 5 min, then remove jars, cool, and store.

*You’ll need a big soup pot that’s deep enough to submerge your jars in water. Place empty jars in pot and fill with water until jars are covered. Heat over med-high heat while you prepare salsa. This will sterilize the jars and heat them (hot salsa into hot jars to process).  Bands and seals should be gently heated in a small saucepan until ready to use.

Makes about two pint jars.  I, of course, quadrupled the recipe to get the haul you see here…

You Can Can Cranberry Juice!

CranberriesOn the road toward self-sufficiency in the inevitable Zombie Apocalypse, I’ve managed to can and preserve tomatoes, beets, and cucumbers, but I imagine no apocalypse is complete without a Vodka cocktail.

This is one of three reasons I decided to try my hand at making cranberry juice on the 4th or July.

The other two reasons? I had three bags of cranberries in the freezer leftover from a 10 for $10 sale at the grocery store about 10 years ago, and, they’re red.  You know… 4th of July.  I can be patriotic sometimes too.

This recipe comes from the Ball Complete Book of Home Preserving, which has become a dog-earred crusty staple in my household.  The description even mentions the inevitability of adding this juice to cocktails, and after this I may never see another bottle of Ocean Spray.

Cranberry Juice

  • tumblr_mpgss81P2L1qmywbko1_500Cranberries (fresh of frozen)
  • Water
  • Granulated Sugar (to taste*, optional)

Directions:

In a large, deep saucepan, combine equal parts cranberries and water.  Bring to a boil and reduce heat to boil gently for about 5 minutes (the berries will burst open… don’t be alarmed).

Transfer to a strainer lined with a few layers of damp cheesecloth.  Let drip, undisturbed, for about two hours.**

In a clean pan, combine juice with sugar, if desired.* Heat to 190-F and hold at 190 for 5 minutes, without letting it boil.

Ladle hot juice into hot, sterilized jars leaving 1/4″ headspace (2.5 bags of cranberries made about 2 quarts of juice). Center the lid and screw band down fingertip-tight. Place in canner completely covered by water and bring to a boil.  Process for 15 minutes. Remove lid and turn heat off, and wait 5 minutes before removing from the canner.  Cool on the counter and store.

* To put your portions into perspective, I used about 1 C. of sugar for my 2.5 bags of cranberries, and it’s a little too sweet for my taste. 

** This is Ball talking and I didn’t have 2 hours to let the juice drain naturally. Though it’s probably the best practice and I’d never dispute the canning Bible, let’s face it, I let it sit about 30 minutes, squeezed a bunch out manually, and everything seemed to turn out fine.